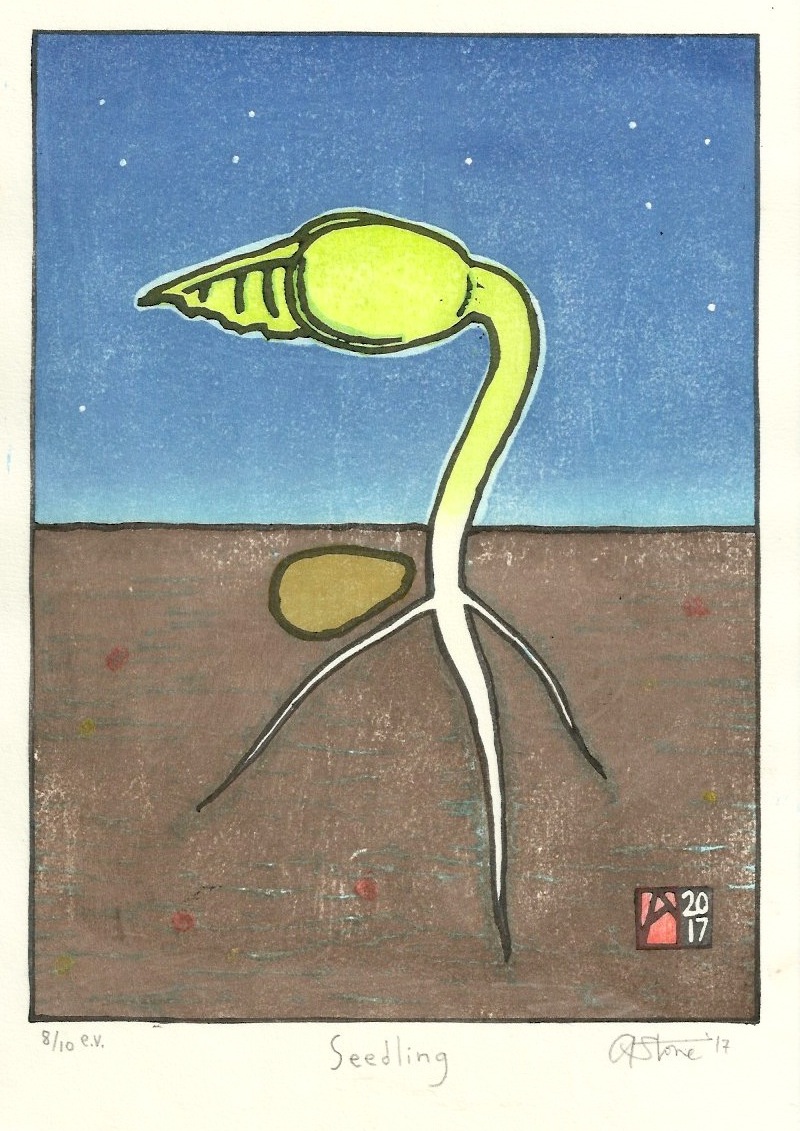
Moku Hanga means simply "wood print" in Japanese so all woodblock
prints are technically "moku hanga". However in the West, the term is
used to refer to woodblock prints made using the Japanese method; there are
individual blocks (usually one for each color), watercolor pigments and
rice paste are applied directly to the block with brushes (instead of a brayer and oil-based colors in western relief printing), and they are printed by hand with a baren, a disc traditionally made of
bamboo and paper that is used instead of a printing press to imprint the
image onto damp (usually Japanese) paper. It's both both simpler and
infinitely more complicated than it sounds as in its simplest form, it's
just a block of wood, color, paper and one could rub with a wooden
spoon to transfer the picture. In the hands of the Japanese masters
however, teams of craftsmen making use of multiple blocks, multiple pigments, changing the order in which the
blocks were printed, adding mica, ground seashells, gold leaf, silver leaf, lacquer, etc
meant for possibilities and solutions of remarkable beauty and splendor.
It takes a lifetime to learn and I'm already over 50, so my work will never
reach the level of even an apprentice in the days of the Ukiyo-e, but I'm enjoying the challenges that
moku hanga present.
Here are three sample prints with some explanations of how they were made:
1)
Snowflake, one block, the snowflake shape has been removed from the
wood and the block was printed with a simple gradation of blue ink and
rice paste. In a separate printing, the same block was printed
again--this time with NO ink to raise the snowflake so it is embossed--but you
can't see that unless you hold the print in your hand. This was printed on a piece of paper large enough to fold in half to use as a greeting card.
2)
Blu Vase Study: Another simple print but this one with 6 blocks but as
the name implies, the number of blocks and colors used varies. No key
block, so there's no outline to the image and the shapes are just built
by solid colors and masking of outlines. There's a pale yellow ground, a
pale blue "vase" (printed multiple times to build up the form), a few
shadow blocks to add shadows and details) and the edge of the table.
Here are some of the color layers (but for a different final variant):
3)
November Cypresses-a traditional moku hanga-method print from 5 blocks (but
8-9 color layers) using a key block (the outline around the shapes that
are commonly seen in Japanese prints) and highlighting the use of
bokashi--the
gradation printing associated with this method.
All
my prints start with a simple sketch--sometimes a doodle from my
sketchbook, sometimes a carefully planned product of many drawings.
In this example: "November Cypresses", it was a small, ballpoint pen scribble of a row of cypress trees.
 |
| This was a 1" x 4" scribble from my sketchbook. |
I knew I was going to work loosely and have the trees in silhouette and try to make the color of the sky the focus.
The
sketch was elaborated to add a border and I adjusted the size with my
computer to produce a photocopy with a laser printer to the size I
wanted.
This copy was pasted FACE DOWN (reversing the image) to
the block using rice paste. Once dry, the paper is carefully lightly
dampened with a fingertip, and the paper backing is rubbed off, leaving
just a thin layer of paper that I can see through and the drawing layer
glued to the block.
I carefully cut this block using the Hangi
toh--a specialized knife particular to Japanese cutting to outline all
of the shapes and maintain exactly the lines of my drawing which will print and reproduce my original sketch. The rest of
the wood is cleared away leaving just my registration corners (that
will allow all the blocks and papers to align with this one).
 |
| Key block cutting; you can see the paper photocopy, glued down that I'm using to see where to cut. |
|
|
|
This
is the keyblock. And from this I print multiple copies on very thin,
DRY paper, one for every color block planned, and these are now each
glued down to new blocks and serve as the templates for the color
plates. Here I've highlighted with orange the wood and printing area
that I'll keep for each block.
Once
these are carved, I'll have a block for each area to be printed.
Although some blocks will be printed multiple times to deepen the color
or to add color gradations. As pigment is mixed directly on the blocks
during the printing process, I can add more paste (transparency) or
pigment (color) to different areas of the block--and hence the print.
Each copy in the hands of an expert printer can be made to look exactly
the same, but I opt for a looser approach and every print is inked a
little bit differently--and so they are all unique.
Some Notes:
In this case, I knew I wanted the trees in silhouette--and darker than
the "sky" so I didn't have to cut out the trees from the background
block--the sky is printed across the whole paper and the trees printed
over it. I can change the sky color--purple or pink, light blue or
gray to change the mood. But if I wanted the sky to be darker than the
trees for a "daytime" effect, I'd have to carve another block of the sky
with the tree shapes cut out.

I
loosely inked the trees themselves with multiple brushes, so the brown
"trunk" and green "tree" were inked together-the colors blending in a
technique called bokashi-or gradation--printing. That's better seen in
the sky, where the purple ink was applied from dark to light from top to
bottom.
A rough brush was also used to highlight the brush
strokes and emphasize the wood grain. I also made use of overlapping
blocks to add a little complexity. In the light green foreground, one
block was used to print this area in a light color, another (with a few
areas removed to mimic a watercolor sketch) a little darker to hint at
grass and bushes....
This is quite a simple
print--with just a few blocks and not many colors--but by manipulating
the application of pigment and by printing on good Japanese paper that
accentuates the color variations and texture of the blocks I was able to
make something that is much more interesting than the starting sketch.
Each
print is different and I approach each NEW print as an exercise to
broaden my personal exploration of moku hanga to create modern works
with my own particular vision.