Sunday, May 13, 2018

MokuHanga a Firenze--June 9-10: Upcoming workshops.

My next small-group beginners' workshop for Japanese woodblock will be next month in Florence.
June 9-10, from 9:30am-6pm.  This class is targeted to Italian speakers but I'll be hosting another class later this summer specifically for English speakers if there is enough interest.

And remember, private classes for 1-2 people in English or Italian are possible and can be tailored to fit students goals and schedules and are suited to beginners who want to get a jump on the technique through one-on-one instruction as well as for advanced students (linoleum or oil-based) who want to to learn the Japanese method of printing but already have a good sense of carving techniques.
I'll post additional dates and venues as they become available.


Wednesday, May 9, 2018

A White-Line, Pink Lily

I wanted to have another go at a white line or Provincetown print. (I've done a couple already--my "Tree Farm at Night" from 2016, last year's Baren exchange print, "Apostrophetic",  and my afternoon experiment from last summer, "Sweet Tea".  I was very happy with how "Apostrophetic turned out, but wanted to try a simpler print to see if I can work on a version of this method that works for me.

It's an odd technique--using just one block and allows for lots of freedom for color application but as one print is produced at a time, it's more suitable for unique prints or very short runs.
Here is the one block after I transferred the image but before it was cut. 


This was a simple image, close-cropped to both allow the shapes to be bigger and easier to brush in with pigment and to allow for a little drama.

While a traditional white line is made by tacking the paper to the block, folding it back, and applying the color with a brush to a small area, flipping back the paper and printing that section and repeating this for each area and multiple times to build up stronger and more uniform color.

I've approached it more as a variant of traditional mokuhanga using dampened Japanese paper and a kento system of registration to set the paper down each time in the right spot.


Here's the first 4 prints I made from this block.
Number 1/8 on Okawara handmade-- a paper that I got originally from Hiromi paper in LA--but I've added additional dosa (sizing) to make it work for water based prints.  This is a Thai kozo-blend paper that is a little off white in color.  Encouraged I tried 3 more copies on different kinds of paper. These 3 all look different but this is due more to the different papers than changes in colors as these were each printed using the same pigments and similar color applications. The differing weights and fibers made for very different prints.

These three copies were all built up or printed semi-simultaneously. A few color layers on one, then I'd switch to a new sheet and built up the colors by adding pigment multiple times to each area.  There are at least 15 color applications to each of these prints.

#2/8 is on a very heavy, uneven-surface Fabriano watercolor paper. It was fairly heavily sized and was very difficult to print with a baren and only a little easier with a small doorknob. The "moth eaten" appearance is due to the uneven surface and lack of adequate pressure.

 No. 3/8 is on Gampi Torinoko, a beautiful handmade gampi paper no longer made but once available from McClains. This paper also has added size/dosa.


Detail of the copy on Gampi Torinoko, #3/8.

 It's a natural color paper and really lovely. It accentuated the embossing of the white lines and has a softer feel to the colors.

4/8, above, is on Hosho Professional, another paper from Awagami--(100% cellulose but with added sizing).
This one was done more loosely and with wetter pigment to better approximate a watercolor painting.
Unfortunately, the paper slipped during one color application (See the dark background parts for double printing) and there was a section that got muddied up by too many color layers so this is probably a reject.

I'll have another try before I retire this block. I want to try printing on DRY paper--using the traditional method--and also on unsized paper. Arches cover is supposed to be good, but I'll use one of my unsized or weakly sized Japanese papers to see how they print with this method.

.

Friday, April 27, 2018

Sculpturing


I am again supervising the Open Studio sessions for the Beginning Sculpture Class for LdM (Lorenzo de Medici) Florence Campus. The course is actually led by my friend and colleague, Neal Barab, but once a week during the school semester I watch over the additional laboratory or open studio making sure that the students are following the safety guidelines and to assist with moving stone or helping with the equipment.

While it's usually well-attended, warm weather might mean that there are just a few students and on those days, it's slow enough that I can also sculpt a bit.

Today was such a day and I worked a small broken piece of a slab of a kind of reddish travertine I found in the trash pile on the road, left over from someone's bath or kitchen project.  It was about 2" thick and roughly triangular in shape--but not for long. After about an hour with a hammer and a chisel and another with the rotary grinder, I'd roughed out this serpentine form.

Once I can get another day in it should look more like an earthworm and less like dog feces.


This other one was from earlier in the semester. I think it's Pietra Serena, a local soft, gray stone. I wanted to make something that seemed bigger and monumental and that is a rough study for perhaps a larger sculpture. It's a footed piece but I still need to better define the "feet" and finish smoothing the curves.


Both of these are small--less than 8" in length but they feel "bigger" and I think they'll look good when they're actually finished. 

Saturday, March 3, 2018

Chinese Zodiac: 2007-2018-Mokuhanga

With my portrait of Bosco as my "Year of the Dog" print for 2018, I have finished one 12-year cycle  for the Baren Forum's Chinese New Year exchange. Each year I printed enough copies to share with the other printmakers in the exchange, with extras for relatives and colleagues and  a few to give away to collectors or important contacts and usually a few more to sell at occasional print fairs or inquiring visitors to my website. Some years I finished them so late I was too embarrassed to send them out (Tiger) so I have lots. Others are now gone except for a few bad or odd copies.
I should note that the "Year of the Boar" pretty much marks my introduction to woodblock printing as that print and making wine labels were my impetus for starting down this odd path. Here, in chronological order are the prints from this series.
For Baren members thinking, "Hey! I never got one of those!", both Boar and Rat were made with the intention of joining the official exchange, but each time, I procrastinated too much and I missed out on the entry date deadline, and I was a new member and didn't think to ask to still be included so they were not part of the Baren exchange, even though I cut and printed about 60 copies of each....
Note that with the exception of "RAT" which I produced exactly as drawn by my then 8-year-old son Sami, and "Tiger" which is based on a Tibetan Tiger carpet, are of the prints are original designs drawn, carved and printed by me. All are mokuhanga prints except for "Goat/Sheep", which is a wood engraving.
I'd also like to mention, I am not much into astrology, and was happy to illustrate the Chinese zodiac because 1) it gave me artist's license to draw and print some charming creatures in a small, postcard format and as I've mentioned before, 2) a chance to procrastinate until February (and beyond) as the Chinese New Year is a month later than ours and gave me extra time without seeming too late.


Tuesday, February 13, 2018

More Dogs--paper trials, part one.


Two variants from my first test printings on BOND paper.
I have acquired some very interesting Japanese papers from a variety of sources and I'll be discussing these in the next several posts as I also show my progress on my YOTD (year of the dog) print. After proofing, a did a small test run of about 20 copies on some of these papers, in anticipation of doing more careful test printings on the papers that looked promising. But before I reveal my sources for some of these wonderful kozo, gampi and mixed fiber papers, I wanted to share some real surprises regarding some cheap but really viable alternatives.

1) Double-weight Bond paper, coated for the inkjet printer.
Those who have taken my workshops already know about this. The double-weight bond paper (160g/m2)that I can get at my local copy shop and stationery store is coated for the inkjet printer--and I discovered that it's perfect for proofing. I use it for checking how the blocks print to see if they need additional clearing and for controlling the registration of multiple blocks or for the first, "waste" printings from the blocks before the brushes and blocks are charged with ink. The paper is pure cellulose, but dampened in my damp pack it is heavy enough to be easy to handle, and is very smooth but not so soft as to dip into the negative spaces. I like to print my keyblock on multiple sheets, and then I can check each color block against the key block to check for alignment.
These copies made it through the whole print sequence and they're a little flat, but at about $8.00 for a ream of paper, who cares.
They are NOT Acid free, they are NOT archival, I don't sell these but I do give them away to those that I know probably throw my prints away after a few weeks...

2) MASA paper 86g/m2 from the Awagami paper factory. The Japanese paper company Awagami has a large inventory of papers for printmaking and they've been actively seeking to expand in Europe and the USA with paper samples, a print exhibition and competition and by sponsoring workshops and teaching centers. I've had some problems with their papers being inconsistently sized.  Some papers that I've carefully tested from their sample packs behaved differently when purchased from paper distributors or when purchased at different times due to the variation from batch to batch of the size (dosa) applied to the papers.
But I keep trying their papers as I keep getting sample packs gifted to me and I recently began using the very inexpensive MASA --a handmade, sulfite paper that is both internally and surface sized. I can get it from Les Papiers de Lucas in France (https://les-papiers-de-lucas.com/papier-japonais-traditionnel/1573-masa-awagami-86g-m2-blanc.html)--along with many other good papers--and it's less than €2.00/sheet.
Awagami MASA-
It's a little soft, and if too wet it can dip into the block recesses and pick up ink blotches, but if I print a little drier, and give the paper time to rest, it prints surprisingly well.   This copy was printed from 6 blocks and has 8 layers of color.

In comparison; here's a proof on their Hosho select. This was a paper that performed really well from the sample packs, but when I ordered the paper from a distributor, the paper that arrived was totally different. Superficially similar but it had laid lines instead of none, and NO sizing added to the paper which I discovered during a workshop when I tried to dampen it for students.
However, once I applied a heavy recipe of dosa(rabbit skin glue and alum), it is now behaving like a mokuhanga paper and here is a print on this home-sized version of Awagami's Hosho select.
Awagami Hosho Select with Added Dosa

In my next post, I'll describe some professional grade and student-level papers from some small family-run workshops from Japan and Korea.

Sunday, February 4, 2018

Year of the Dog-Work in Progress


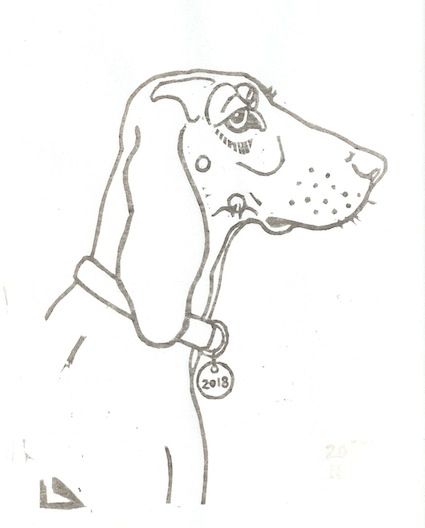
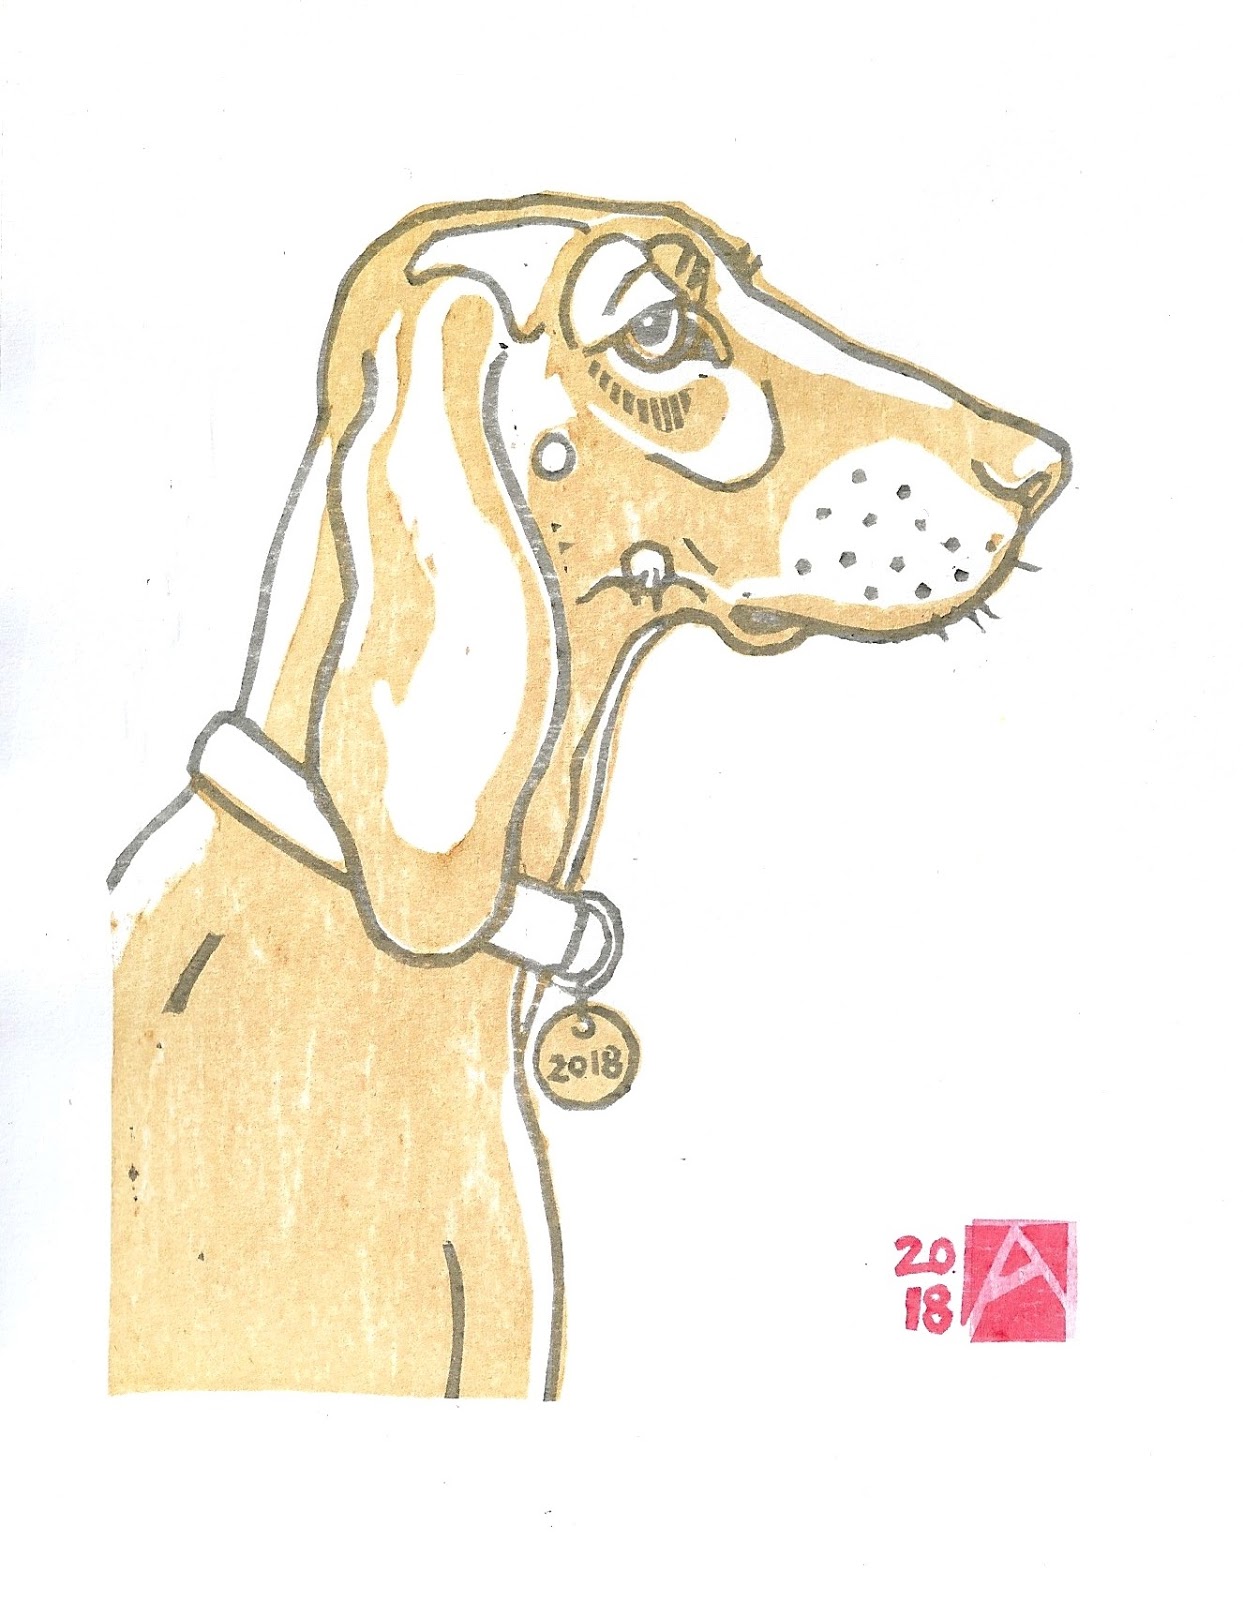
Once I finish this print for the "Year of the Dog" I will have completed the 12-year cycle of the Chinese zodiac for the BarenForum's artist exchange I've been participating in since 2007.
I've been working on this for a bit--and had lots of thumbnails and sketches before settling on a sketch of our rescued Segugio Italiano--an Italian Scenthound--that we adopted about 1 1/2 years ago.


He's a handsome and sweet fellow, but he is a dog that was used for hunting, and will disappear for hours if we let him loose, following the lingering scent of the hares and deer and boars that roam our fields at night.

My sketches started as silly cartoons and gradually became more and more representative as I looked at photo references and repeatedly sketched him in the kitchen.  Once I was happy with a  final drawing, it was copied using a xerox machine and these copies then glued down onto multiple blocks for carving to serve as guides for cutting.

There is one cherry plywood block for the key block (black lines).


There are two shina plywood blocks and another 2 Okoume' plywood blocks to mimic the dog's fur and textures.


All the blocks are carved and each print their own portion of this layered mosaic--and now I hope that I can make the sum of each layer better than the individual blocks.

Here are some early proofs; I still need to trim a few edges, adjust 1-2 kentos and decide on the colors.


He's an orange-brown dog, so I'll try to go for a greenish blue background but getting his color right (these are too orange) is going to be the key to getting the print to work as much as getting a background that isn't too aggressive.  

Wednesday, November 8, 2017

Dutch travelers, Holland Barens, and the Genius Loci


Aafke and Bastiaan
I'm enjoying the company of two young Dutch artists, Aafke Ytsma and Bastiaan Epker who are traveling from the Netherlands to Cyprus for an artists' residency but they've turned the road trip itself from Holland to the Mediterranean into a separate project and have sponsors and patrons that are supporting their journey.  Aafke and Bastiaan are producing Mokuhanga postcards, one for each stop along the way that they're cutting and printing and then sending back to their sponsors.  Aafke is a painter and Bastiaan an oil-based woodblock artist but they're now using traditional Mokuhanga techniques on these mail-art pieces.

They're now in Florence I'm sharing my studio space with them so they can work out their next prints and hopefully will have enough time to imagine, carve, and print a new image based on their visit here.
The works and trip are based on the concept of the Genius Loci--the spirit or spirits of a particular place--and they're interpreting that individually, with each of them working and producing alternate prints.

I've been communicating with Aafke for a few months after she shared with me some photos of two barens she had made using my blog posts on making twisted-cord barens as a model.


Fine and coarse barens made from twisted, wax cords on a cardboard backing

A good tie-job but they're covered with waxed paper that isn't going to last.....
                                        
Finished Barens

She was happy with how well they worked but was having trouble sourcing a material in Holland for covering them. I was so impressed by her work that I sent her a few bamboo leaves from the garden so they could be properly covered and asking that she share with me her comments on how they perform.
And when I heard she'd be passing through Florence on the way to Cyprus we agreed to meet to share some stories and that I'd be able to have them as guests in my studio so they could have a temporary work space.  Today we spent the day in the studio looking at materials and I got to see their completed blocks and a few prints and they were able to get to work on the next ones.
I hope I'll be able to post photos of the finished print/s soon.
Tomorrow, since they're working on the local spirit, I'm going to try to introduce them to the Olive Trees and see if they also like picking Tuscan olives.